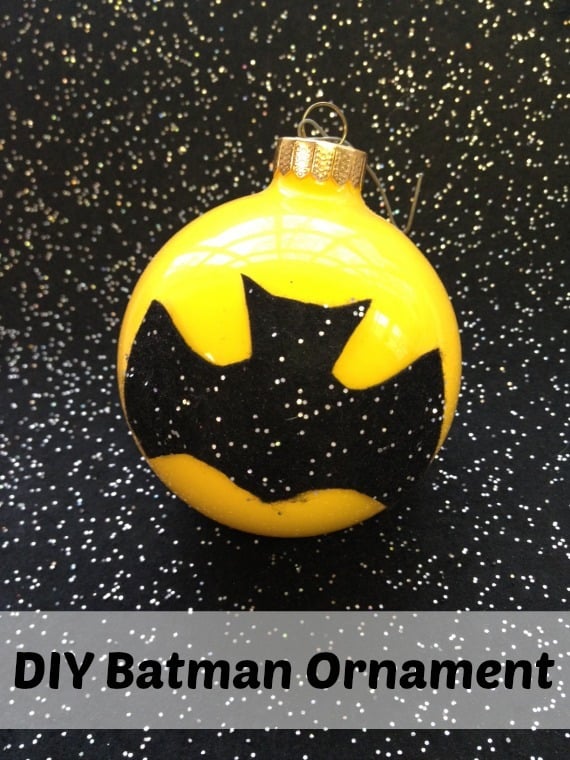
DIY Batman Ornament
If you have a little one at home who loves Batman, then this is a holiday craft for you! This year, why not make your own Batman ornament to hang on your tree? It is so simple, and you can create one using just a few inexpensive supplies from your local craft store. Take a look below at how to make your own Batman ornament that will really be a hit this holiday season!
DIY Batman Ornament
Supplies needed:
Clear glass ornament
Yellow craft paint
Black felt
Scissors
Craft glue
Directions:
1. Begin by putting about a teaspoon of yellow paint in your clear ornament.
2. Put your finger over the opening of the ornament and shake it up well. You want all of the paint to to spread as evenly as possible on the inside glass of the ornament.
3. Once the paint is even, replace the top.
4. Take a piece of felt and fold it in half. This will help your bat be more even and symmetrical. Cut out a simple wing and head. When you open the felt back up you should have a bat shape. For our felt, we used a fun glittered effect one for some extra pop!
5. Apply some craft glue to the back of the felt bat. Press it to the ornament firmly so it adheres well.
Now all you need to do is add a hook or some black ribbon for hanging. In no time you will have a colorful Batman ornament that is sure to make your tree dazzle!
This same method could be used for all sorts of super hero themed ornaments. You could do a blue ornament with a red felt “S” on it, or a green ornament with a felt eye scarf for Ninja Turtles. Get creative and see what you can come up with.