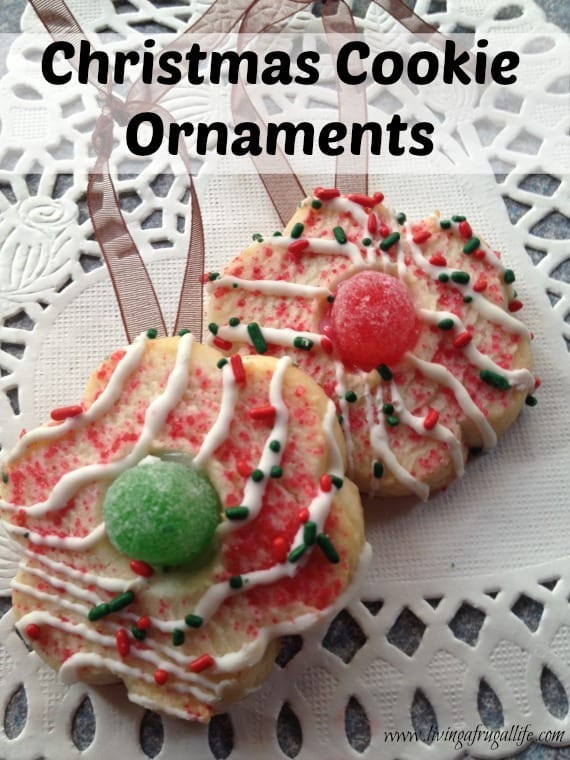
My Favorite DIY Christmas Cookie Ornaments Tutorial
When I was young Christmas cookie ornaments were one of my favorite traditions. Not only are they fun to make, but they were also fun to eat!
We would make big batches of cookies and sit together and decorate the cookies. Some of them would be made into Christmas cookie ornaments and others would be turned into plates to cookies for friends and neighbors.
I think I enjoyed this so much because we were snacking, chatting and decorating! And I loved being able to give them away!
You could use store-bought or homemade sugar cookies in this recipe. Both work great! You can also use the Danish cookies in the tin if you want small ornaments.
If you want to make these completely edible you will want to use an icing recipe that is sticky enough and dries hard. If you have a favorite one that does that, feel free to use it.
How to make Christmas cookie ornaments
Ingredients:
Shaped Sugar Cookies
Gumdrops
Sticky icing or frosting
Sprinkles
Ribbon
Wax paper
Instructions:
- Take shaped sugar cookies and place them on wax paper.
- Take icing and decorate the way you want to decorate your Christmas cookie ornaments. I used a piping bag and made lots of lines and swirls on mine to make patterns. You can add these however you want.
- Add sprinkles on top of the icing before it dries at all. This acts as a glue for the sprinkles.
- Let the icing dry completely.
- Cut a short amount of ribbon. I find a shorter ribbon is good for smaller cookies but larger cookies need more ribbon to balance out the weight.
- Turn cookie over and put a small amount of icing in a dot on the back. Make ribbon into a loop with ends touching and push ends of the ribbon into the icing. If you need to, you can use icing between the ribbons as well to glue them together.
- Let the icing dry completely.
- If you don’t want these to be edible you can use hot glue to attach the ribbon to the Christmas cookie ornaments.
Printable Christmas cookie ornaments tutorial
My Favorite DIY Christmas Cookie Ornaments Tutorial
Instructions
- Take shaped sugar cookies and place them on wax paper.
- Take icing and decorate the way you want to decorate your Christmas cookie ornaments. I used lots of lines and swirls on mine to make patterns. You can add these however you want.
- Add sprinkles on top of the icing before it dries at all. This acts as a glue for the sprinkles.
- Let icing dry completely.
- Cut a short amount of ribbon. I find shorter ribbon is good for smaller cookies but larger cookies need more ribbon to balance out the weight.
- Turn cookie over and put a small amount of icing in a dot on the back. Make ribbon into a loop with ends touching and push ends of ribbon into the icing. If you need to, you can use icing between the ribbons as well to glue them together.
- Let icing dry completely.
- If you don't want these to be edible you can use hot glue to attach the ribbon.
Enjoy your Christmas cookie ornaments on your tree or as an edible treat!
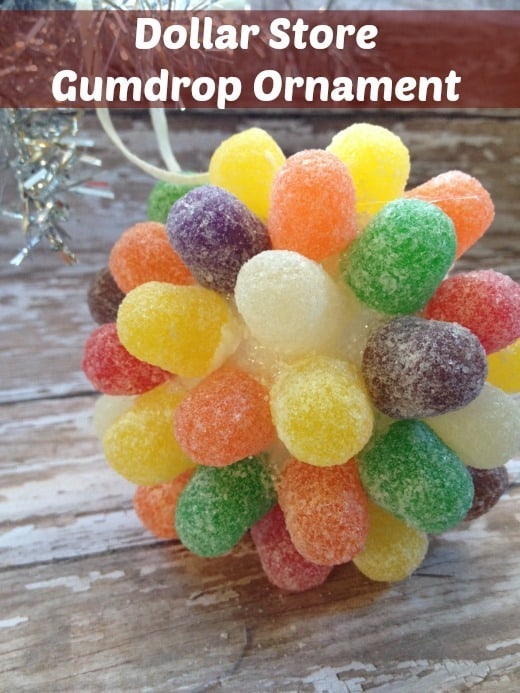
You can use any extra gumdrops to make the gumdrop ornament tutorial.


Travel Tips for When you Travel With Kids
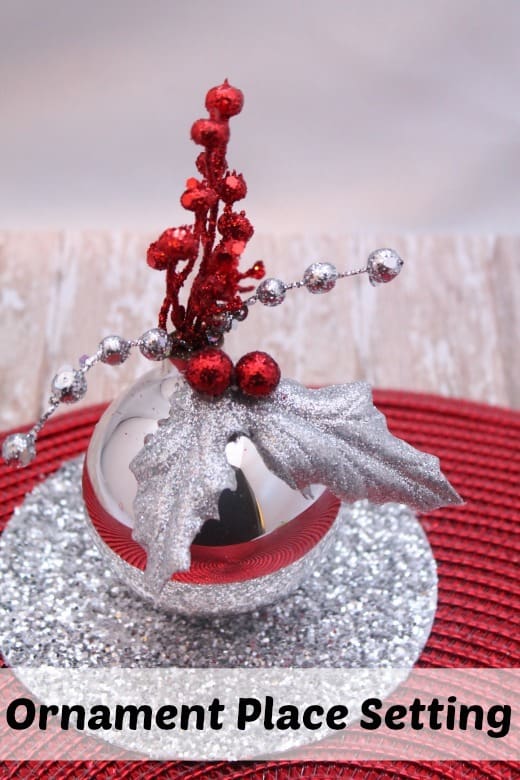
You can also check out all our other DIY Ornament tutorials!


One Comment