Easy Homemade Cherry Pie: Best Recipe Ever!
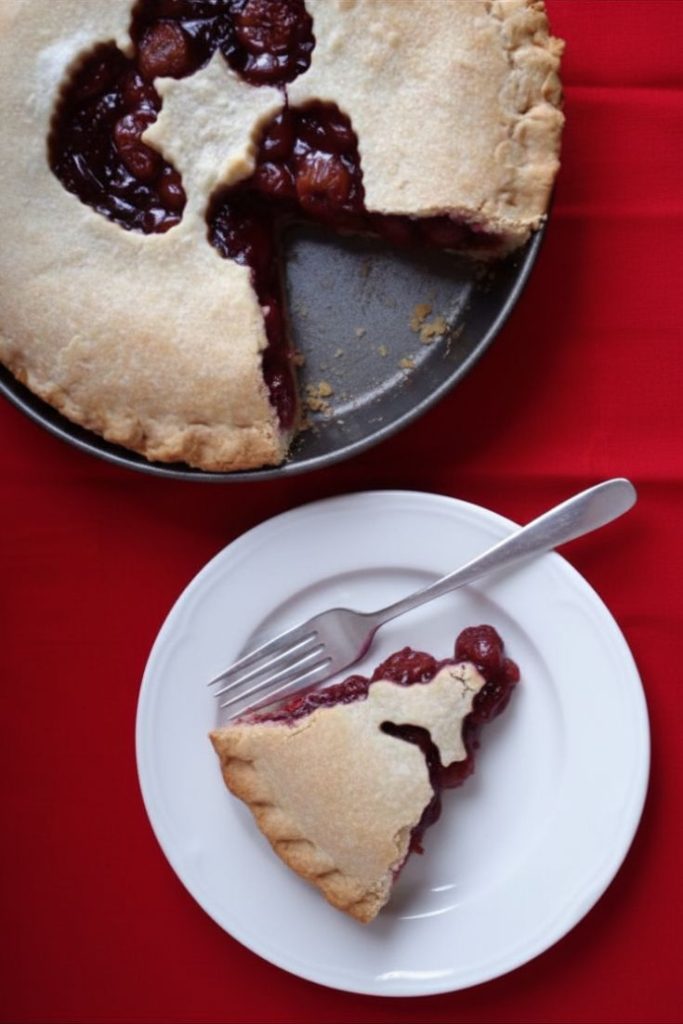
Homemade Cherry Pie is a recipe that many people stay away from because they don’t think it can be easy. The truth is, it is VERY easy! And you can make it special for different holiday’s like I did for Valentines.
With this recipe, I used home-canned cherries. But you can use canned cherries, or fresh cherries to make the this easy cherry pie recipe.
This is the best cherry pie recipe I have ever had. Mostly because it is simple, sweet and easy to make.

Easy Homemade Cherry Pie Recipe
Ingredients:
Cherry Pie Filling
- 1 1/4 C Sugar
- 1/3 Cup Cornstarch
- 1 Cup Cherry Juice from jar if using canned Cherries or Cherry Juice Blend
- 4-4 1/2 cups Tart Cherries
- 1/2 tsp Ground Cinnamon
- 1/4 tsp Ground Nutmeg
- 1/4 tsp Vanilla Extract
Homemade Pie Crust Recipe
- 2 1/2 cups all-purpose flour plus extra for rolling
- 1 cup 2 sticks butter, chilled, cut into cubes
- 1 teaspoon salt
- 1 teaspoon sugar
- 3 to 5 Tbsp cold water
Instructions:
- In a large saucepan, combine sugar and cornstarch
- Gradually stir in cherry juice and stir until smooth
- Bring to a boil and stir for 2 minutes
- Add cherries to pan and let cook for 3 more minutes or until thickened
- Remove from heat and add cinnamon, nutmeg, and extract
- set aside to cool while you get the crust ready
- Combine flour, salt, and sugar in a bowl
- Add butter and cut in until mixture resembles coarse meal, with pea-size pieces of butter.
- Add water 1 Tbsp at a time, mixing until mixture just begins to clump together. If you pinch some of the crumbly dough and it holds together, it’s ready. If the dough doesn’t hold together, add a little more water and mix again.
- Remove dough from bowl and place in a mound on a clean surface.
- Gently shape the dough mixture into two disks. Work the dough just enough to form the disks, do not over-knead.
- Sprinkle a little flour around the disks. Wrap each disk in plastic wrap and refrigerate for at least 1 hour or up to 2 days.
- Take one mound of dough and roll it out to cover the pan bottom. I used a 9-inch pan.
- fill the crust with filling until slightly above the edge of pie crust
- Roll out the second mound out for crust top.
- use cookie cutters to cut out the hearts on the top.
- Roll crust up and unroll it over the fruit filling
- Cut off excess and pinch edges of the 2 crusts together to seal in the filling.
- Bake at 425º for 10 mins. Then reduce heat to 375º for 45-50 mins or until crust is golden brown.
- Cool on wire rack
Pin it for later:

Fresh Homemade Cherry Pie Printable Recipe

Easy Cherry Pie Recipe: Crust and Filling Recipe Included
Equipment
Ingredients
Filling
- 1 1/4 Cup Sugar
- 1/3 Cup Cornstarch
- 1 Cup Cherry Juice from jar if using canned Cherries or Cherry Juice Blend
- 4-4 1/2 cups Tart Cherries
- 1/2 tsp Ground Cinnamon
- 1/4 tsp Ground Nutmeg
- 1/4 tsp Vanilla Extract
Crust
- 2 1/2 cups all-purpose flour plus extra for rolling
- 1 cup butter chilled, cut into cubes
- 1 tsp salt
- 1 tsp sugar
- 3 to 5 Tbsp cold water
Instructions
- In a large saucepan, combine sugar and cornstarch
- Gradually stir in cherry juice and stir until smooth
- Bring to a Boil and stir for 2 minutes
- Add cherries to pan and let cook for 3 more minutes or until thickened
- Remove from heat and add cinnamon, nutmeg, and extract
- set aside to cool while you get the crust ready
- Combine flour, salt, and sugar in a bowl
- Add butter and cut in until mixture resembles coarse meal, with pea size pieces of butter.
- Add water 1 Tbsp at a time, mixing until mixture just begins to clump together. If you pinch some of the crumbly dough and it holds together, it’s ready. If the dough doesn’t hold together, add a little more water and mix again.
- Remove dough from machine and place in a mound on a clean surface.
- Gently shape the dough mixture into two disks. Work the dough just enough to form the disks, do not over-knead.
- Sprinkle a little flour around the disks. Wrap each disk in plastic wrap and refrigerate at least 1 hour, and up to 2 days.
- Take one mound of dough and roll it out to cover the pan bottom.
- fill crust with filling until slightly above edge of pie crust
- Roll out second moundout for crust top.
- Roll crust up and unroll it over the fruit filling
- Cut off excess and pinch edges of the 2 crusts together to seal in the filling.
- Bake at 425º for 10 mins. Then reduce heat to 375º for 45-50 mins or until crust is golden brown.
- Cool on wire rack
Tried this recipe?Let us know how it was!
Check out more frugal recipes and these other posts from Living A Frugal Life!
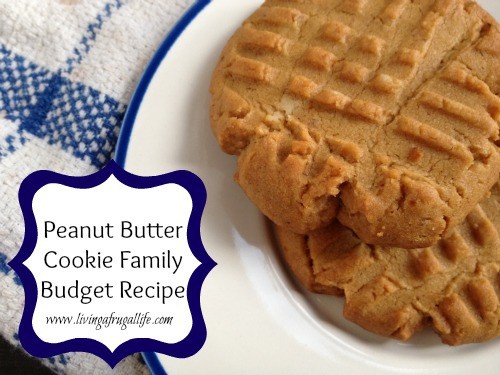
Quick and Easy Peanut Butter Cookie Recipe
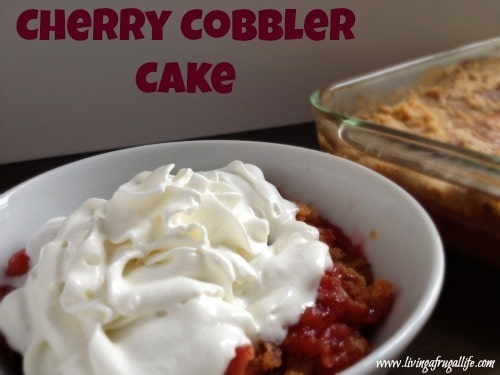
Easy Homemade Cherry Cobbler Cake


This sounds delicious. I have been wanting cherry pie for so long! We bought some frozen tart cherries at the store, but they had such a horrible flavor. I wish there was somewhere in Southern California that I could get some decent cherries. I guess I am going to have to use canned.
I know there is a cherry orchard that does u-pick just north of the grapevine, but I think that is the only one around here. I used home canned cherries for mine. We got the cherries in Fresno before we moved.
WOW this looks so good