How To Make A DIY St. Patrick’s Day Wreath For Under $5!
The St. Patrick’s Day holiday is quickly approaching, and It is time to make your DIY St. Patrick’s Day Wreath for under $5!
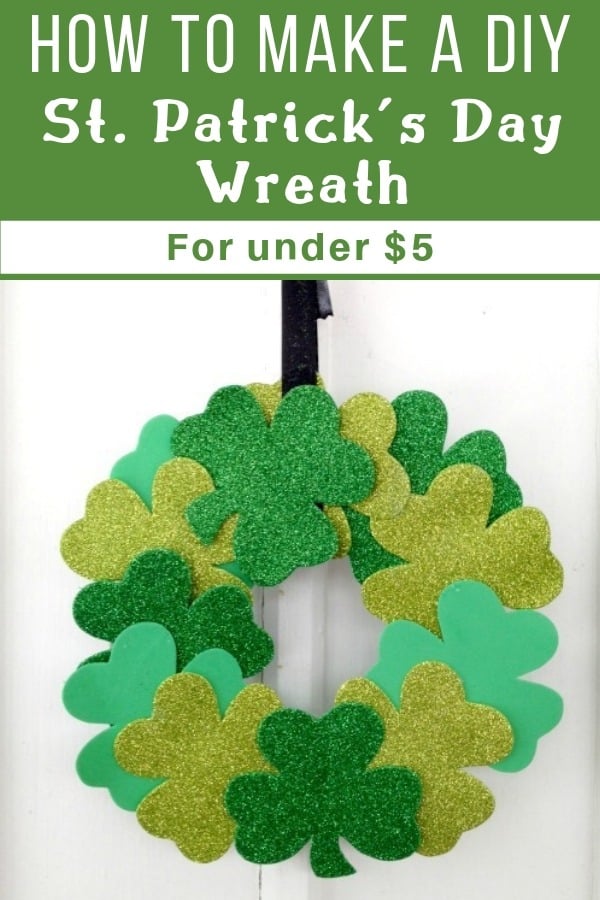
This year, don’t spend big bucks buying St. Patrick’s Day décor at retail prices, instead, try crafting your own and save some money in the process.
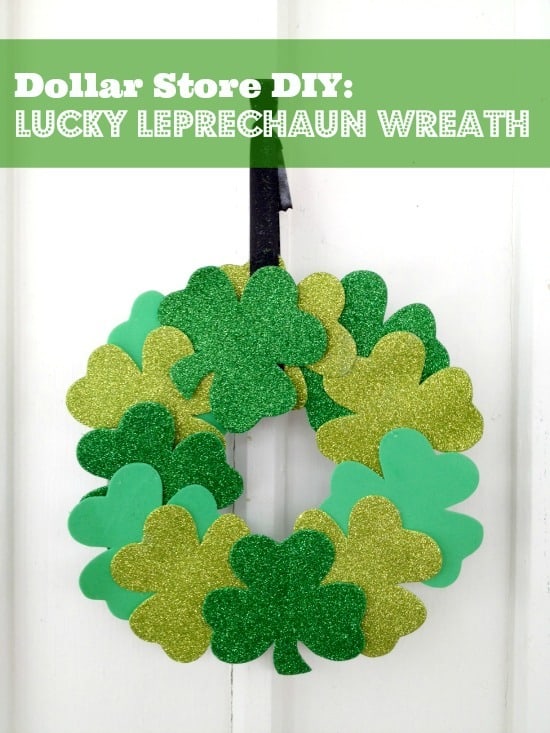
With a quick trip to your dollar store, you can create a Lucky Leprechaun Wreath such as this shamrock wreath. In fact, we were able to craft this example for under $5.
Take a look below and see how simple it is to whip up this wreath for your own home and St. Patrick’s Day party. Who knows, it might just bring you some good luck, or at least save you some serious cash!
With a quick trip to your dollar store, you can create a Shamrock Wreath such as this. In fact, we were able to make this DIY St. Patrick’s day wreath for under $5.
Take a look below and see how simple it is to whip up this wreath for your own home. Who knows, it might just bring you some good luck, or at least save you some serious cash!
DIY St. Patrick’s Day wreath for your St. Patrick’s day party decor
We were able to find all of our supplies for this DIY St. Patrick’s day wreath at our local dollar store. Peruse the craft supply and holiday-themed aisles and you should be able to find everything you need.
Supplies needed:
Assorted foam clovers
Foam wreath form
Ribbon
Hot glue
Hot glue gun
Directions:
- Begin by deciding what pattern you want your clovers to make. If using an assortment of colors and finishes as we did, you may want to organize them into a specific pattern. Practice laying this pattern out in a circular form so you can get an idea of how you want to glue the pieces on.
- You can now begin gluing your clovers on. Start at 1 o’clock on your wreath form, pressing a hot glued clover to the foam and holding it in place for several seconds. Repeat this step moving in a clockwise direction until you have made your way all around the wreath form.
- If you wish, you can go back and glue clovers over any areas that seem a little bare or thin. You can also add an additional layer of clovers if you wish for more interest and dimension.
- Cut a length of ribbon for hanging. Simply run your ribbon through the wreath and tie it to hang. For our wreath, we glued an additional clover on top of the ribbon to conceal it.
Now all you need to do is decide where you would like to display your DIY St. Patrick’s Day wreath!
A front door, entryway, even your office door will look great adorned with this Shamrock Wreath.
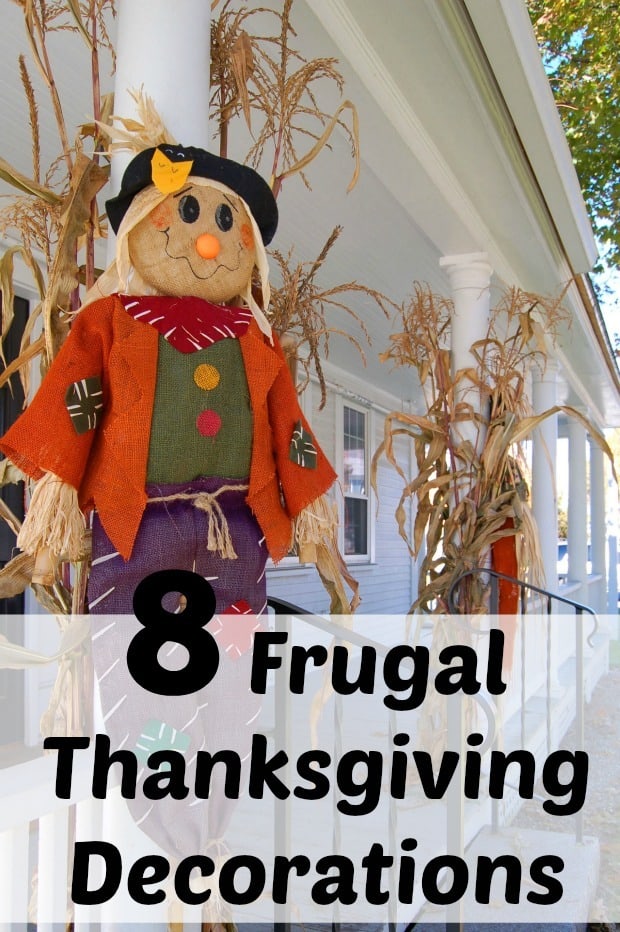
Be sure to check out all our other DIY Home decor and crafts!
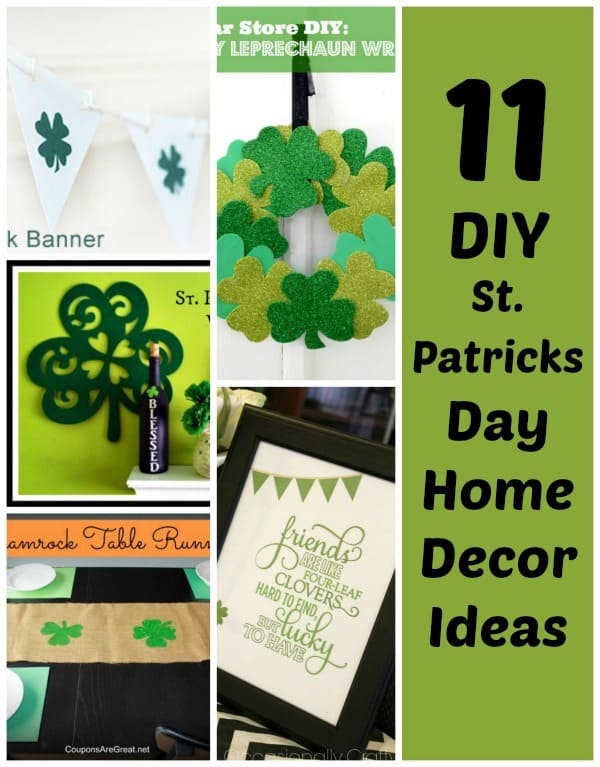
11 DIY St. Patrick’s Day Decorations For Your Home

13 green recipes for St. Patrick’s Day Food

Homemade air freshener that smells like Christmas


5 Comments