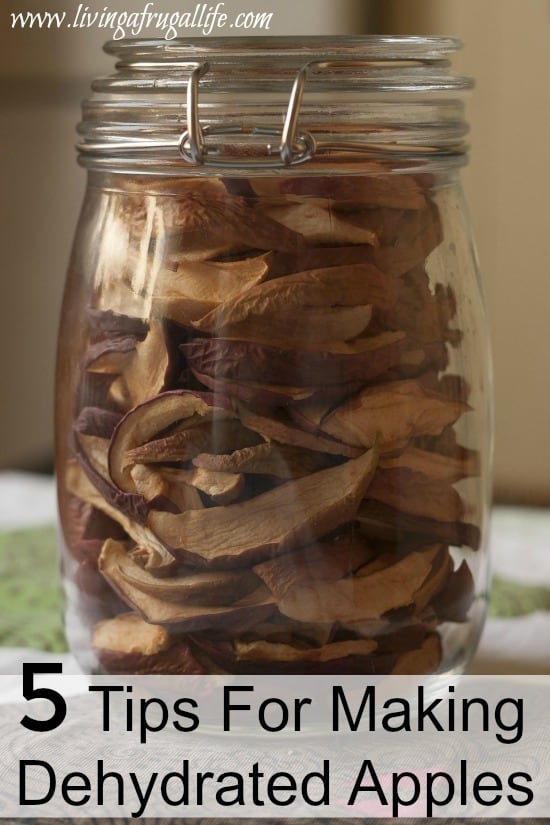
5 Tips For Making The Best Dehydrated Apples Ever
Have you ever wanted to make dehydrated apples? Dried apples last longer than fresh, and can then be used in desserts, trail mix, and more. You can even try your hand at crafting with dried apples, take for instance adding it to potpourri or dried sachets. Take a look below at 5 tips for making dehydrated apples so you can dry apples for all of your crafting and cooking needs.

Tips For making dehydrated apples
1. Use the freshest apples you can
For dehydrating, you want the freshest apples possible. You don’t want any rot or discoloration to have the chance to set in, as it could alter the outcome of the drying process. Instead, opt for fresh, juicy apples without bruising or any other signs of damage. Test for firmness, as the firmer apples, will hold up to drying better as well.
2. Pay attention to the apple variety
It seems as though red or yellow apples dry better than the green varieties. If you can dry red, you may experience better results. Red apples will also retain a bright rind color when dried, which is desired if you will be using the dried apples for crafting.
3. Cut thick slices
You want to make sure you don’t slice your apples too thin. Hold the apple upright and start slicing, creating slices that are at least ½ inch thick. Once the moisture bakes out, you want to be sure there is still plenty of apples left. Slicing too thin can cause the piece to fall apart.
4. Bake directly on the rack
If you don’t have a food dehydrator, you can dehydrate the apples in the oven. Don’t place your sliced apples on a baking sheet. Instead, place them directly on the oven rack. They will cook more evenly this way, and you will experience better results. If you wish, you can use a non-stick spray on the grids before adding the apples. Then, just set the apples on the grid and begin.
5. It’s a marathon, not a sprint
Don’t rush the dehydrating process. It is best to set your oven temperature low and dry the apples slowly over time. Start by setting the oven to 250 degrees, checking on the dehydrated apples every 30 minutes. Typically after an hour to 90 minutes, your apples will be ready. Don’t try to up the temperature to dry in a quicker time span. It won’t yield the same results.
Once your apples are dried (they will be thin, wrinkly, crispy edges) you can remove them and place them on a pan to cool. Once cold, you can enjoy any of the suggestions mentioned above. Plus, your kitchen will smell fantastic! Give these tips for dehydrating apples a try and see how easy and fun the whole process can be!


I love apple chips but I didn’t even think to put them directly on the rack to dehydrate in the oven. What a great method. I will be trying this!
Let me know how it goes!
Mine came out leathery and not crispy. I tried dehydrating them longer to no avail. Any suggestions?
did you use a dehydrator or the oven?